There is no item in your cart

Accurate measurements are the absolute foundation when planning for a custom door installation. A width described generically as the “door size” might mean the slab, frame, complete unit, finished opening, or rough structural opening. This comprehensive guide explains how to measure for a custom door step-by-step so your project fits seamlessly without costly structural modifications on site.
Understanding Key Terminology for a Custom Door Project
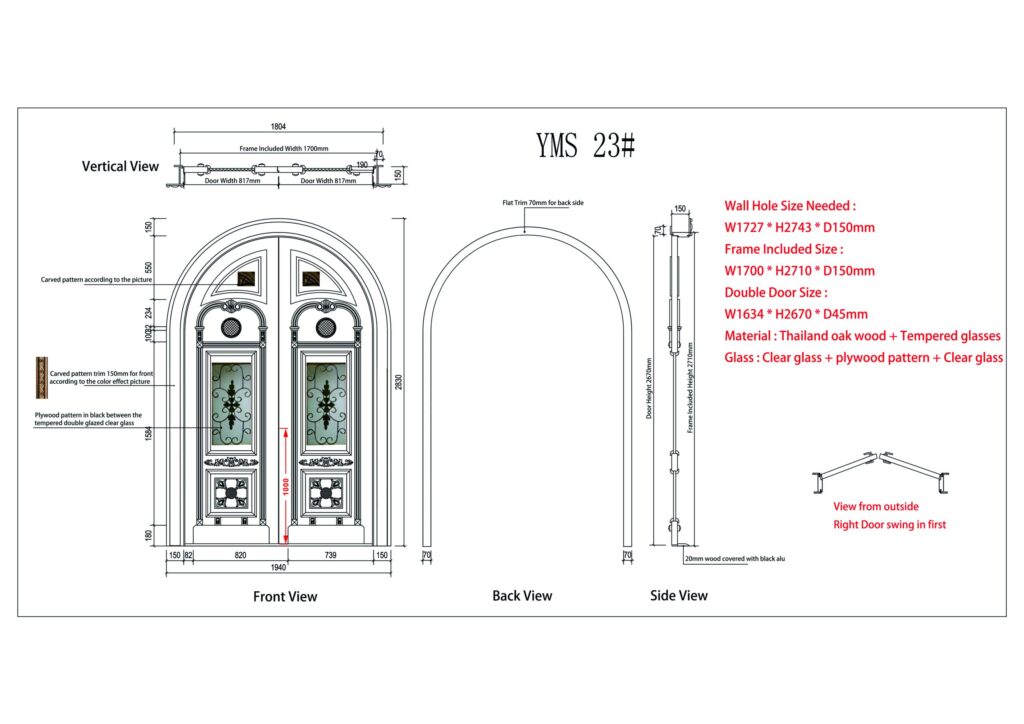
Before pulling out your tape measure, it is essential to understand the five standard dimension terms used by custom door craftsmen, architects, and master carpenters:
- Door slab: The moving door leaf itself without hardware, hinges, or outer framing components.
- Frame or jamb: The structural timber or metal assembly surrounding the slab that attaches directly to the wall studs.
- Complete unit: The full pre-hung assembly including the custom door slab, frame, weatherstripping, sill, and any integrated sidelights or transom windows.
- Finished opening: The completed visible opening after drywall, plaster, trim molding, or interior decorative paneling is fully installed.
- Rough opening: The raw structural opening between wall studs prepared for pre-hung unit installation, typically 2 inches wider and 2 inches taller than the unit frame size.
Essential Tools and Site Preparation
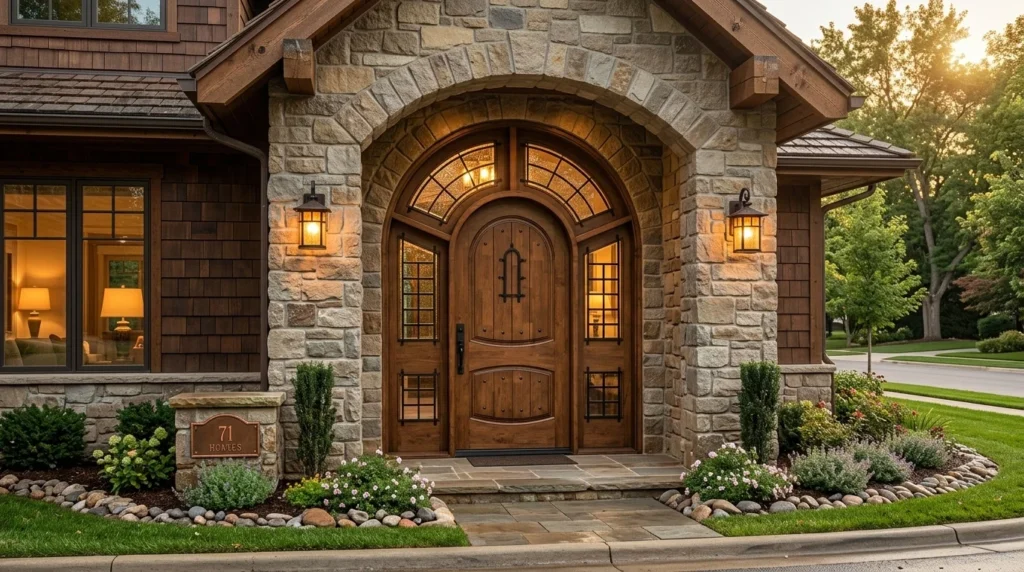
To record precise dimensions for your custom door order, assemble a reliable heavy-duty steel tape measure, a 4-foot spirit level, a combination square, notebook, pencil, digital camera, and an elevation grid sheet. Record the project site location, finished floor reference levels, wall framing material (timber studs, masonry, or steel framing), and whether existing jambs will be removed. For real-world architectural design inspiration and craftsmanship standards, explore our featured Santa Fe custom entry door project showcasing custom timber craftsmanship.
Measuring Width, Height, and Depth for a Custom Door
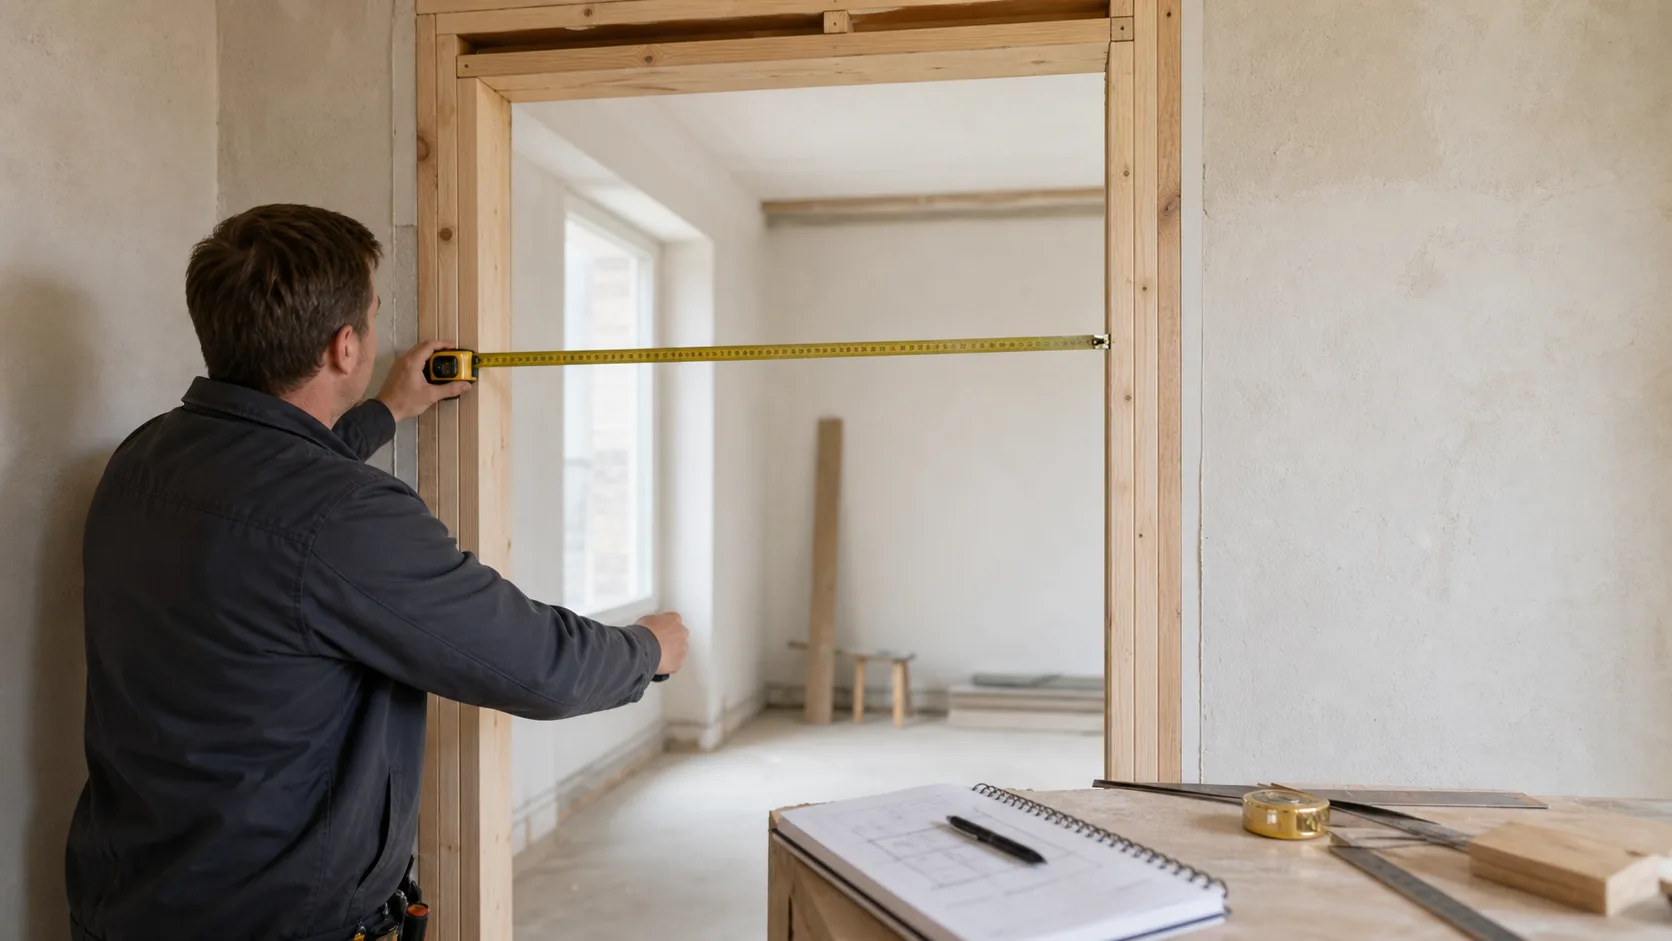
When measuring width for a custom door unit, take three separate horizontal measurements: across the top, middle, and bottom of the structural opening. Record the smallest dimension as your primary working reference. Similarly, measure vertical height at three locations: left edge, center, and right edge, measuring from the subfloor or finished floor level up to the structural header. Always record wall depth (jamb depth) at multiple points to account for irregular plaster work, tile, or exterior stone cladding. Knowing how to measure for a custom door with triple-point verification guarantees proper clearance and sealing.
Checking Square, Level, and Plumb Conditions
An opening can have consistent width and height measurements but still be significantly out of square or out of plumb. Place a long spirit level vertically against both side jambs and horizontally across the head header. Next, measure diagonally from top-left corner to bottom-right corner, and top-right corner to bottom-left corner. If these two diagonal measurements differ by more than 1/4 inch, the opening is out of square and requires shimming or stud adjustment. Professional guidelines published by Architectural Digest highlight that precise site preparation is vital before installing high-end bespoke architectural joinery.
Recording Door Swing and Handing Options
Clear communication regarding door swing direction prevents costly ordering errors. Draw a simple sketch showing the door viewed from the exterior side looking in, clearly indicating hinge placement and swing direction (inswing into the room or outswing toward the exterior). Avoid relying solely on regional terms like “left-hand inswing” without accompanying visual diagrammatic verification, as trade definitions can vary between manufacturers.
Factoring Sidelights, Transoms, and Architectural Framing
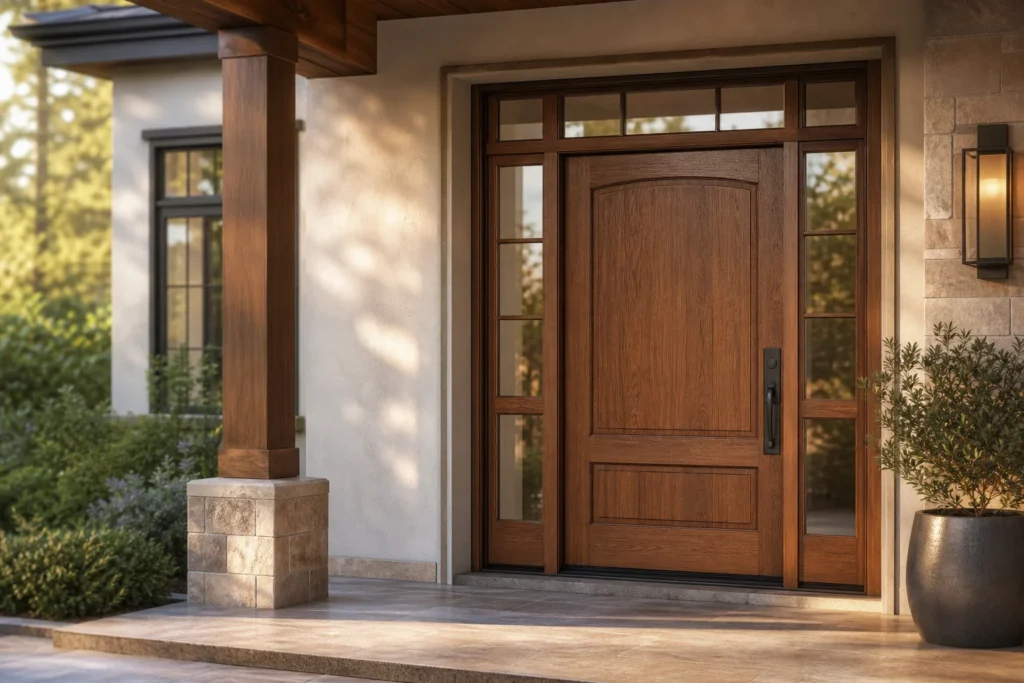
If your custom door configuration includes fixed glass sidelights or an upper transom window header, always measure the total overall rough structural opening first. Next, specify individual component dimensions, including slab width, sidelight panel widths, mullion widths, and transom bar heights. Verify that the sum of all component dimensions equals the total unit size on your technical elevation drawing.
Site Photographs and Documentation Checklist
High-resolution site photographs provide invaluable clarity for custom door designers and master craftsmen. Be sure to include the following angles in your documentation packet:
- Straight-on full elevation view showing the complete opening inside and out.
- Detailed close-up photos of head header, sill, and side jamb transition details.
- Floor level transitions, threshold conditions, and flooring material junctions.
- Nearby structural wall obstructions such as light switches, outlets, columns, or exterior sconces.
- Tape measure holding positions for visual scale verification.
Common Measuring Mistakes to Avoid
Prevent these common pitfalls when preparing your custom door specifications:
- Submitting single width and height numbers without specifying whether they represent slab size or rough opening size.
- Mixing imperial (feet and inches) and metric (millimeters) units on the same dimension sheet.
- Measuring only the existing slab when replacing an entire pre-hung entry unit system.
- Overlooking future finished floor elevation changes (such as new hardwood underlayment or thick tile installations).
- Assuming older existing wall openings are square and level without diagonal measurement verification.
- Failing to identify the contractor responsible for confirming final shop drawings.
Submitting Your Specifications for Fabrication
Once all site measurements are verified, submit your annotated elevation drawing, site photos, dimensional table, and hardware preferences to our technical team. Explore our full range of handcrafted custom architectural doors and woodworking collections to discover matching timber species, custom finishes, and decorative glass options tailored for your property.