There is no item in your cart

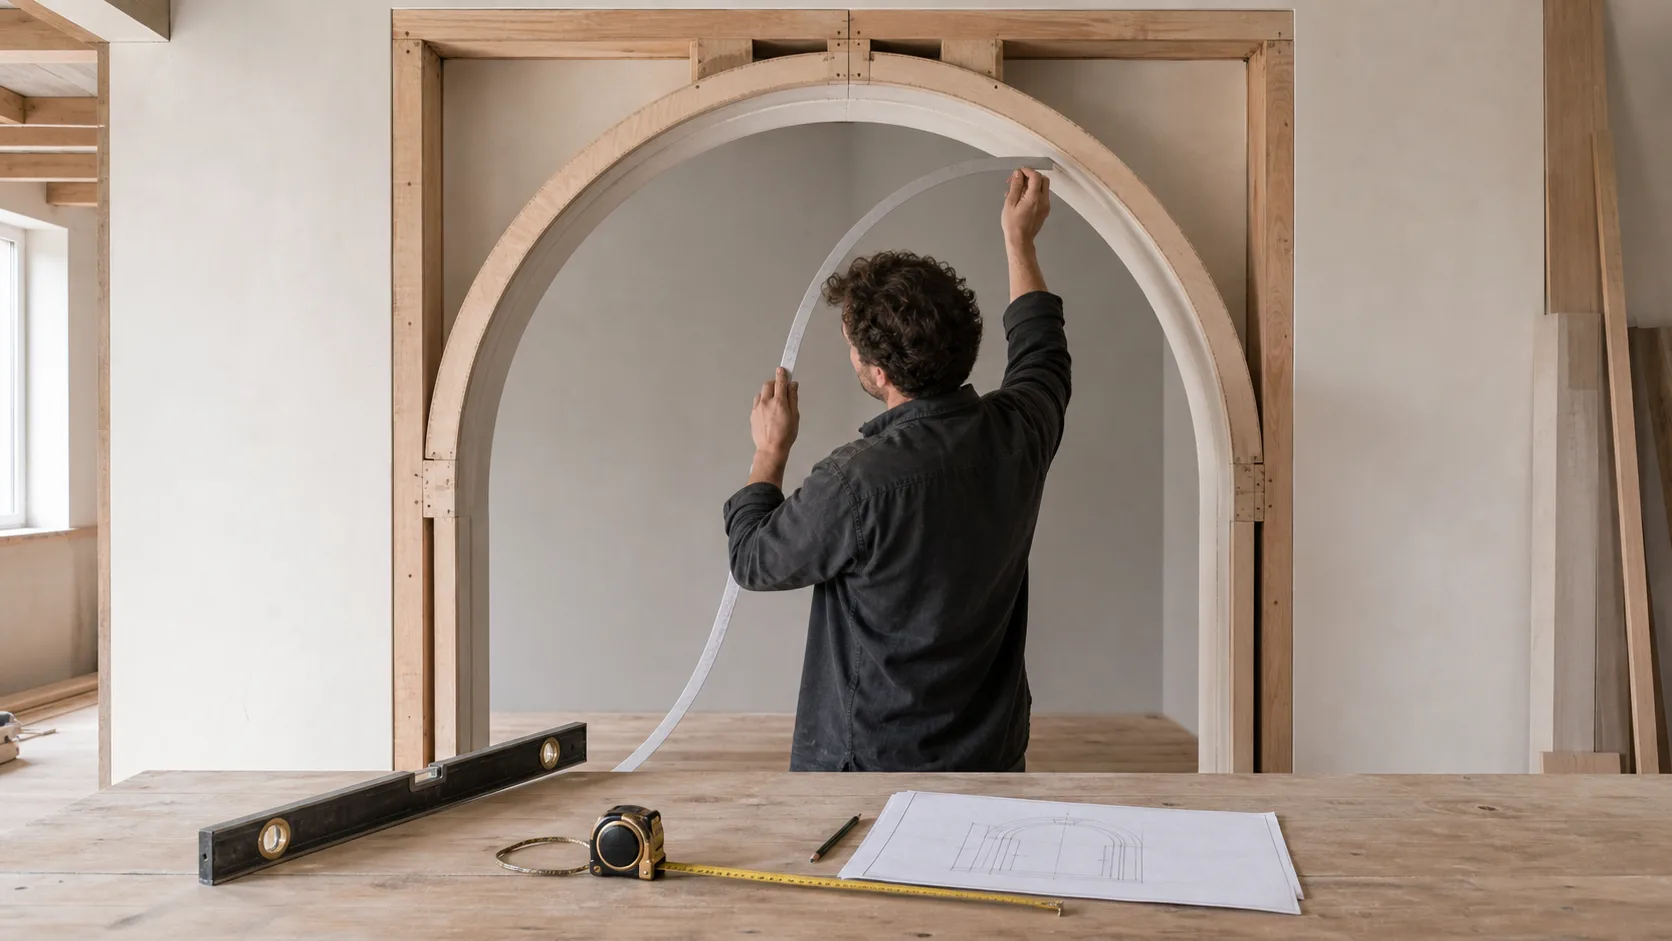
Measuring an arched door opening requires significantly more detail and precision than measuring a standard rectangular doorway. Unlike conventional straight-edged door frames, an arched door features a curved top profile that must align seamlessly with the surrounding wall, jamb, and masonry construction. Whether you are installing a custom interior archway or a grand exterior entry door, understanding how to record accurate dimensions ensures a perfect fit without costly on-site modifications.
This comprehensive step-by-step guide walks you through every critical measurement needed when preparing an arched door opening, including base width, spring line height, peak rise, and jamb depth. By following these professional surveying techniques, you will provide your door fabricator with all the essential data required for custom manufacturing.
Why Precise Measurements Matter for an Arched Door
An arched door is an architectural centerpiece that adds timeless character, elegance, and distinction to any home. However, because curves vary widely in design—ranging from true semicircular arcs to segmental, gothic, or Tudor profiles—there is no standard one-size-fits-all dimension. A minor discrepancy in the arch radius or wall depth can cause improper weather sealing, uneven clearance gaps, or structural binding during installation. For more background on historical arch geometry, explore arch architectural styles.
Before taking any physical dimensions, inspect the opening to determine whether you are measuring a rough structural opening, a finished masonry reveal, or an existing timber frame. Always record measurements in millimeters or sixteenths of an inch using a heavy-duty steel measuring tape for maximum accuracy.
Step 1: Identify the Arched Door Profile and Curve Type
The first step in planning your custom order is identifying the specific curve geometry of your opening. Common arch configurations include:
- Full Semicircular Arch (Roman Arch): A classical half-circle curve where the height of the arch rise equals exactly half of the base width.
- Segmental Arch: A shallow, gentle curve where the total arch rise is less than half of the opening base width.
- Elliptical Arch: A sophisticated compound curve that flattens near the jambs and rises smoothly toward the center apex.
- Gothic or Pointed Arch: An architectural style where two distinct arc curves meet at a center peak point.
Document the arch style clearly on your survey sheet and take high-resolution straight-on photographs of the opening from both the interior and exterior sides.
Step 2: Record the Base Width at Multiple Elevations
The base width establishes the horizontal width of your arched door opening. Because wall openings are rarely perfectly plumb or square, you must measure the width across three distinct horizontal points:
- Bottom Base Width: Measure horizontally across the lowest point of the opening, directly above the finished floor level or threshold.
- Mid-Height Base Width: Measure horizontally halfway up the vertical side jambs.
- Spring Line Width: Measure horizontally across the opening at the exact level where the vertical jambs meet the arch curve.
Record all three width measurements. When ordering your custom frame, reference the smallest measured width to ensure proper rough opening clearance, while providing all three numbers so the manufacturer can calculate frame shimming accurately.
Step 3: Determine the Spring Line Height
The spring line height is one of the most vital measurements for any arched door installation. The spring line represents the exact vertical transition point where the vertical jambs end and the curved arch top begins.
To measure the spring line height accurately:
- Extend your tape measure vertically from the finished floor reference level up to the left spring point where the curve starts.
- Repeat the exact vertical measurement on the right side jamb to verify symmetry.
- If the left and right spring line heights differ due to floor sloping or masonry settling, record both values independently rather than averaging them.
Step 4: Measure Peak Rise and Total Opening Height
The overall height of an arched door opening consists of the vertical jamb height combined with the peak rise of the upper arch section.
Follow these steps to record height dimensions:
- Maximum Center Height: Measure vertically from the finished floor line up the center axis to the highest apex point of the arch curve.
- Calculating Peak Rise: Subtract the spring line height from the maximum center height. The remaining value is your net peak rise.
- Intermediate Height Points: For non-semicircular or custom curves, measure vertical heights at 6-inch or 12-inch horizontal grid intervals across the entire opening width.
Step 5: Verify Jamb Depth and Wall Thickness
An accurate jamb depth measurement ensures that your new frame matches the full thickness of the wall assembly, including plaster, drywall, exterior masonry, and interior casing trim.
Measure wall thickness at six key points around the opening: top apex, left spring line, right spring line, mid-left jamb, mid-right jamb, and bottom threshold. Record the maximum jamb depth and note any decorative plasterwork, brick reveals, or wiring channels that might interfere with door clearance.
Step 6: Create a Physical Template for Custom Fabrication
For historic restorations, irregular masonry reveals, or non-standard arch shapes, numerical measurements alone may not capture subtle curvature variations. Creating a full-scale physical template provides 100% precision for your fabricator when designing custom arched doors.
To make a template, trace the full arch contour onto heavy corrugated cardboard, hardboard, or Mylar sheets pressed flat against the wall reveal. Mark the finished floor reference line, spring line level, interior/exterior orientation, and project ID directly on the template before shipping it to your door builder.
Arched Door Measurement Checklist
Before submitting your order, verify that your survey documentation contains all necessary details:
- Base width at bottom, mid-height, and spring line elevation
- Spring line height for both left and right side jambs
- Maximum center height and calculated net peak rise
- Jamb depth and wall thickness across multiple points
- Finished floor reference level and threshold allowance
- Door swing direction (in-swing or out-swing, left-hand or right-hand)
- High-resolution photographs of the full opening, jambs, and surrounding wall condition
Conclusion
Accurate measurement is essential for crafting a beautifully fitted arched door that operates smoothly and protects your home against the elements. By systematically recording the base width, spring line height, peak rise, and jamb depth, you provide your door manufacturer with the exact specifications needed for flawless execution. Contact our specialist team today for personalized advice or assistance with your custom door order.